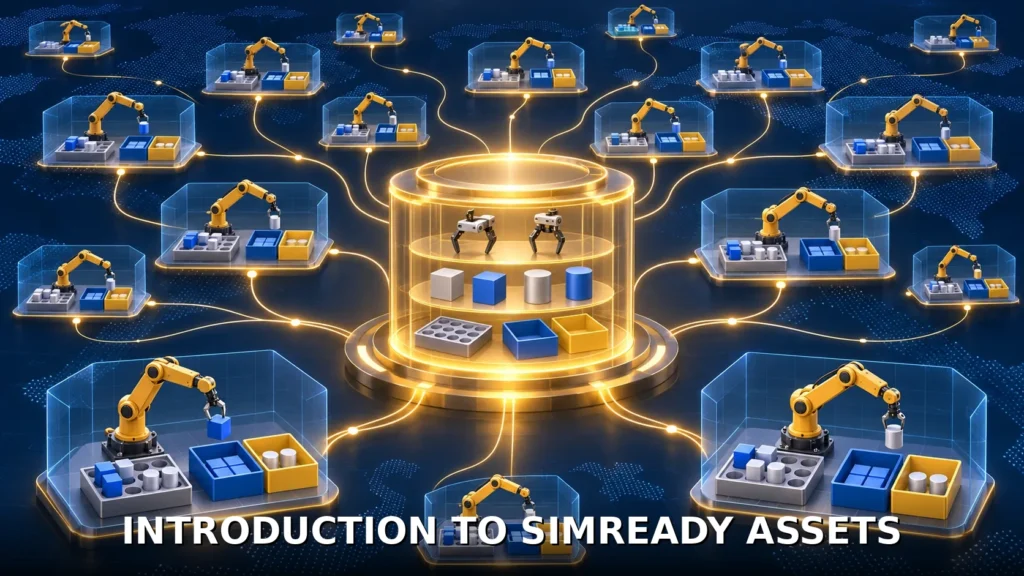



Introduction to SimReady assets
SimReady assets provide the models and simulation properties for a robot pick-and-place simulation, but the assembled robot still needs controls and behavioral testing. NVIDIA’s walkthrough on Hugging Face demonstrates that distinction with a UR17G arm, a Robotiq 2F-140 gripper, and a beverage can in Isaac Sim. The task is straightforward: grasp the can, lift it, move it to a target, and release it.
The example shows how reusable assets and agent-generated task code can work together. It also sets a clear boundary around the result: this is a scripted simulation with a known object position, fixed waypoints, and simplified physics assumptions. It does not establish reliable operation with uncertain object locations or real hardware.
For robotics, SimReady means an OpenUSD asset has been prepared with properties required for a defined simulation use case. Those properties can include collisions, mass, joints, and joint drives. SimReady Central, an open asset library on Hugging Face, supplies reusable robot and object assets with authored simulation properties and profile-validation evidence.
The important word is “defined.” Readiness is tied to a use case and its requirements. In this example, the arm and gripper need controllable joints, while the can needs collision and mass properties. Having those settings available gives developers a starting point for assembly and testing; it does not by itself establish that a particular controller can complete a grasp.
Importance of asset preparation for simulations

NVIDIA describes the SimReady Foundation specifications through three connected levels: profiles, features, and requirements. A profile groups features for a use case, such as a robot body. Features describe necessary capabilities, such as controllable joints. Requirements specify checks on the settings supporting those capabilities, including joint-drive settings.
This structure makes the evidence behind an asset’s readiness more specific than its appearance. A robot can look correct while stationary in Isaac Sim yet move incorrectly or interact poorly with an object once simulation begins. Checking the relevant settings and then exercising the scene addresses two different questions: whether the asset meets its profile requirements, and whether the assembled system performs the task.
The validation reports cited in the walkthrough illustrate that separation:
| Asset | Validation profile | Reported check |
|---|---|---|
| UR17G arm | Robot-Body 4.0.0 | Passing PhysX driven-joint checks |
| Robotiq 2F-140 gripper | Robot-Gripper 3.0.0 | Passing PhysX driven-joint checks |
Those checks inspect joint-drive settings. They provide a shared baseline for reusing the assets, according to the walkthrough. The pick-and-place run then tests the interaction among the arm, gripper, can, and controller in the composed scene.
The asset packages include their models and simulation settings. The developer supplies the scene and task code: the arm–gripper assembly, work surface, starting positions, and controls for arm motion and gripper opening and closing. That division explains the practical value of the approach. Developers can reuse prepared components while concentrating their task-specific work on composition, control, and validation.
Step-by-step guide to building a robot pick-and-place simulation
1. Prepare the simulator and agent
The walkthrough uses Isaac Sim 6.2 and asks readers to check its system requirements. For the agent-assisted route, the agent must have access to the bundled Isaac Sim skills and be able to execute Python against the simulator. NVIDIA uses GPT-6 Sol in the example, while noting that another agent and model combination may work if it meets those requirements. Generated code and results can vary.
The agent is a development aid in this workflow: it helps assemble the robot, inspect the scene, and create and run task code. The documented run does not use vision or replanning. Keeping those roles distinct prevents the presence of an AI coding agent from being mistaken for evidence of adaptive robot behavior.
The Hugging Face CLI is needed only for the command-line asset-download option. The source also describes downloading through the asset interface, so a command-line download setup is not a prerequisite for every route through the example.
2. Download the three complete asset packages
Find the UR17G arm, Robotiq 2F-140 gripper, and beverage can in SimReady Central. The walkthrough instructs readers to use the asset versions linked in its example, select Download, and either save to a folder or use the supplied Hugging Face command.
Keep each complete asset folder intact so Isaac Sim can find its supporting files. Provide the agent with the local USD file paths for all three assets. A path shown in the source is an example download location, so the paths supplied to the agent must reflect the files actually downloaded.
At this stage, review the available validation reports alongside the profile requirements. The arm and gripper reports establish the joint-drive baseline described above; their role is to inform the next steps, not replace them.
3. Connect the agent and inspect the loaded assets
Start Isaac Sim from its installation directory with the remote Python server enabled. NVIDIA also instructs readers to start the agent from the Isaac Sim directory so it can access the skills used in the workflow. The source provides documentation routes for making the bundled skills available and for performing assembly manually.
Confirm that all three assets appear without missing-file errors. Then inspect the arm and gripper’s joint limits and drive settings, either through the agent or directly in Isaac Sim. The walkthrough cautions that asset structures vary, making the settings in the loaded scene the appropriate starting point.
This inspection connects the downloaded packages to the actual scene under development. The relevant question is whether the loaded assets have the expected settings and behavior, not simply whether the files were acquired successfully.
4. Assemble the arm and gripper
Connect the arm and gripper so the assembly can be controlled as a single articulation. The walkthrough directs manual users to the Robot Assembler tutorial. Its agent-assisted example asks the agent to assemble the two assets using that tutorial and validate the completed assembly.
NVIDIA reports that the agent used the isaac-sim-remote and usd-articulation skills for assembly and physics validation. That describes the example’s execution; the source does not promise identical generated code from every agent run.
Compose the remaining task scene with the can, work surface, and starting positions. The task code must coordinate the arm’s movement with the gripper’s opening and closing. These are the controls that turn the prepared assets into a pick-and-place demonstration.
5. Generate and evaluate the task controls
The walkthrough’s task request asks for a contact-based grasp and validation of pick-and-place accuracy or placement error. Its controller coordinates the UR17G and Robotiq gripper through approach, grasp, lift, hold, transfer, and release.
Inspect the generated code and resulting behavior before adapting the task. Asking an agent to validate placement error is not itself a measured result: the supplied source does not give a numerical placement-error outcome. The defensible description is that accuracy validation is requested and that the run must be evaluated through the documented behavior checks.
Testing and validation of robotic movements
Testing starts before the full sequence. Review joint limits and drive settings, make a small arm movement, and open and close the gripper. Confirm that the can rests on the work surface without falling through it. These checks establish whether basic motion and contact behavior are suitable for attempting the task.
Next, reset the scene and run the complete approach-to-release sequence. Observe whether the gripper holds the can as the arm moves and releases it at the target. NVIDIA recommends comparing the run with the demonstration and noting the point of failure if behavior differs. Before retrying, return the robot and can to the same starting state so results can be compared.
The source’s assumptions are essential to interpreting any successful run:
- Fixed setup: The can starts at a known position. The robot is anchored, the workspace is clear and flat, no vision is used, and collision checks are limited.
- Simplified object: The can model does not include deformation or liquid motion. The demonstration therefore does not test crushing.
- Scripted control: The horizontal grasp uses contact and friction to hold the can while the arm follows fixed waypoints without replanning.
- Uncalibrated drive setting: A 2 N·m drive-effort cap was selected through simulation tests. It is neither calibrated to fingertip forces nor a manufacturer recommendation.
The drive-effort distinction matters because the setting belongs to this simulated control setup. It should not be presented as a hardware gripping-force specification. The walkthrough separately points readers toward manufacturer information for hardware specifications.
Likewise, observing a completed transfer would support a conclusion about that scripted setup. It would not establish robustness to uncertain object positions, different payloads, or physical deployment. NVIDIA explicitly limits the result on those grounds. The available evidence supports a workflow for building and checking a simulation, without supplying a numerical success rate or a hardware-validation result.
Encouragement for user-generated simulations
NVIDIA encourages readers to build their own pick-and-place tasks with assets from SimReady Central. The most useful starting point is the same sequence of decisions demonstrated here: identify the assets, review their supported profiles and validation reports, compose the scene, then evaluate the resulting controls and contact behavior.
The walkthrough offers several routes for extending the work. Developers can use the Isaac Sim installation and Agent Skills documentation to prepare the environment, or follow the Robot Assembler tutorial for manual assembly. For those creating content, it points to guidance on preparing robotics assets from CAD and to the SimReady Central submission process for validating and contributing assets.
It also asks developers sharing results in the Hugging Face comments to identify the assets and Isaac Sim version used. Those details give readers context for interpreting a demonstration alongside its starting conditions and limitations.
SimReady assets make the components and their authored simulation settings reusable. The developer’s remaining responsibility is concrete: establish that the chosen assembly, controller, and object interact as intended, and describe the conditions under which that result holds. That is the basis for a useful simulation others can inspect and adapt.